Floating IPs
On this page, you can find an explanation of how to create, associate, edit, delete Floating IPs and instructions for other steps to manage Floating IPs in the Cloud Console.
Table of contents
Floating IP
Floating IP is an IP address allocated from Public network range by request and associated with specific project. You can assign Floating IP to any of your instances provisioned in private networks. This provides great flexibility in management of your network resources.
Some of the key advantages provided by Floating IPs:
- Once Floating IP created - it will stay in your project until you explicitly delete it. Regardless if you delete resources to which it attached. It guarantees that you will have your stable static IP for as long as it needed for your infrastructure.
- You can create multiple Floating IPs per project.
- You can almost immediately transfer Floating IP from one instance to another without any interruptions to service.
- Instance itself doesn’t know about Floating IP existence. You don’t have additional network interface on OS level. You don’t need to care about routing with multiple interfaces.
You need to know that:
- Floating IP can be assigned only to instance provisioned in private network with configured router with external gateway.
- Only one Floating IP can be assigned to instance at one time.
- You can’t have Floating IP created from range of your private network.
Floating IPs page
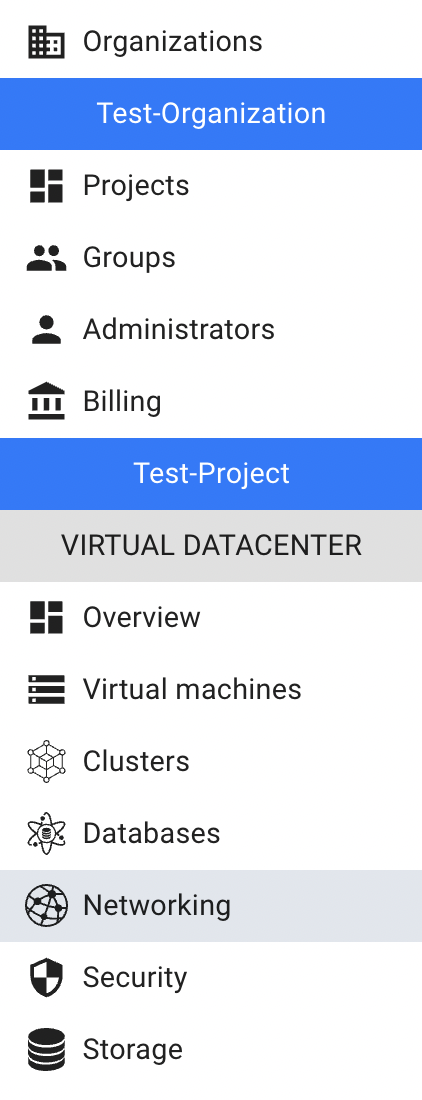
To get to the Floating IPs page, select the Networking from the VIRTUAL DATACENTER block in the side-bar menu and click the Floating IPs TAB:

On this page you can find all Floating IPs created in the current Project, with the Create button, Search bar and Actions icon, which opens a list of available management actions for the selected Floating IP:
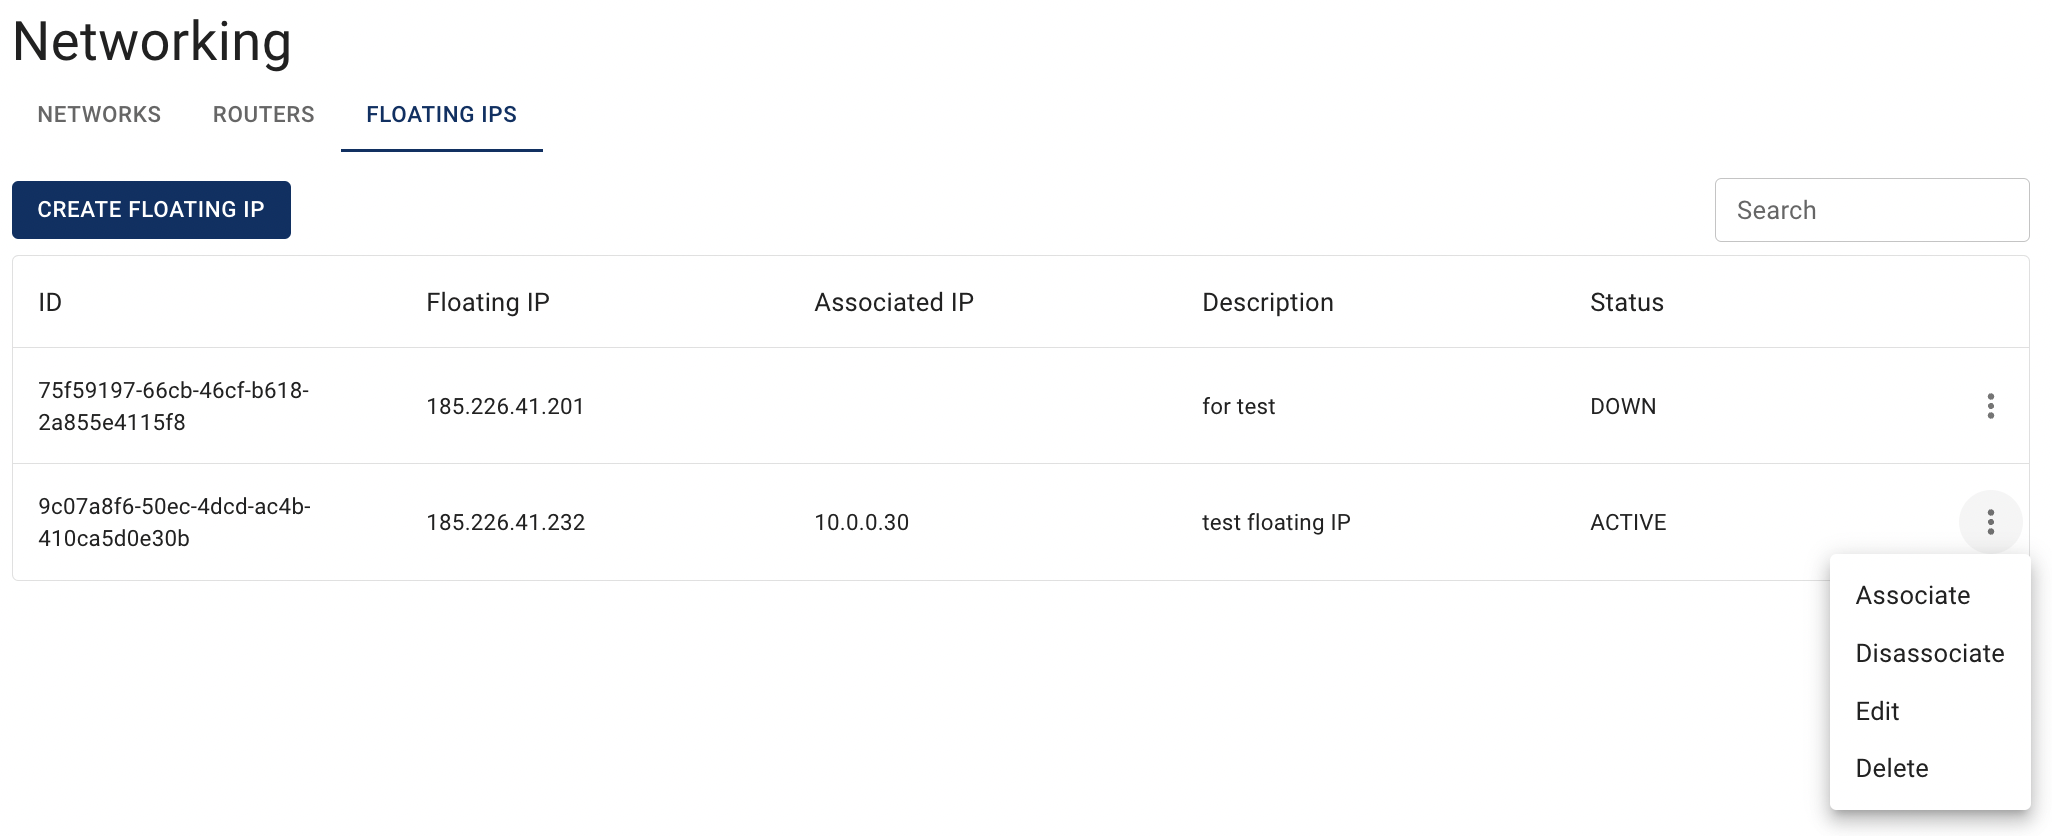
Actions icon opens the next list of available management actions for the selected Floating IP:
- Associate - this option is used to associate selected Floating IP with available Network Interfaces;
- Disassociate - this option is available only for Floating IPs that are already associated with one of the Network Interfaces;
- Edit - this option is used to update description of the selected Floating IP;
- Delete - this option is for releasing specific Floating IP from the Project.
Create Floating IP
To create new Floating IP, do the following:
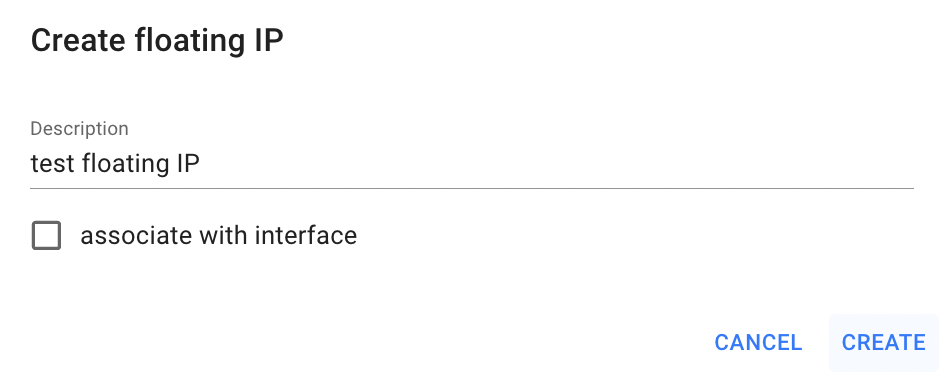
- go to the Floating IPs page and click on the CREATE FLOATING IP icon in the upper left corner;
- optionally, add the description on the next opened Create Floating IP window and click on the CREATE icon:
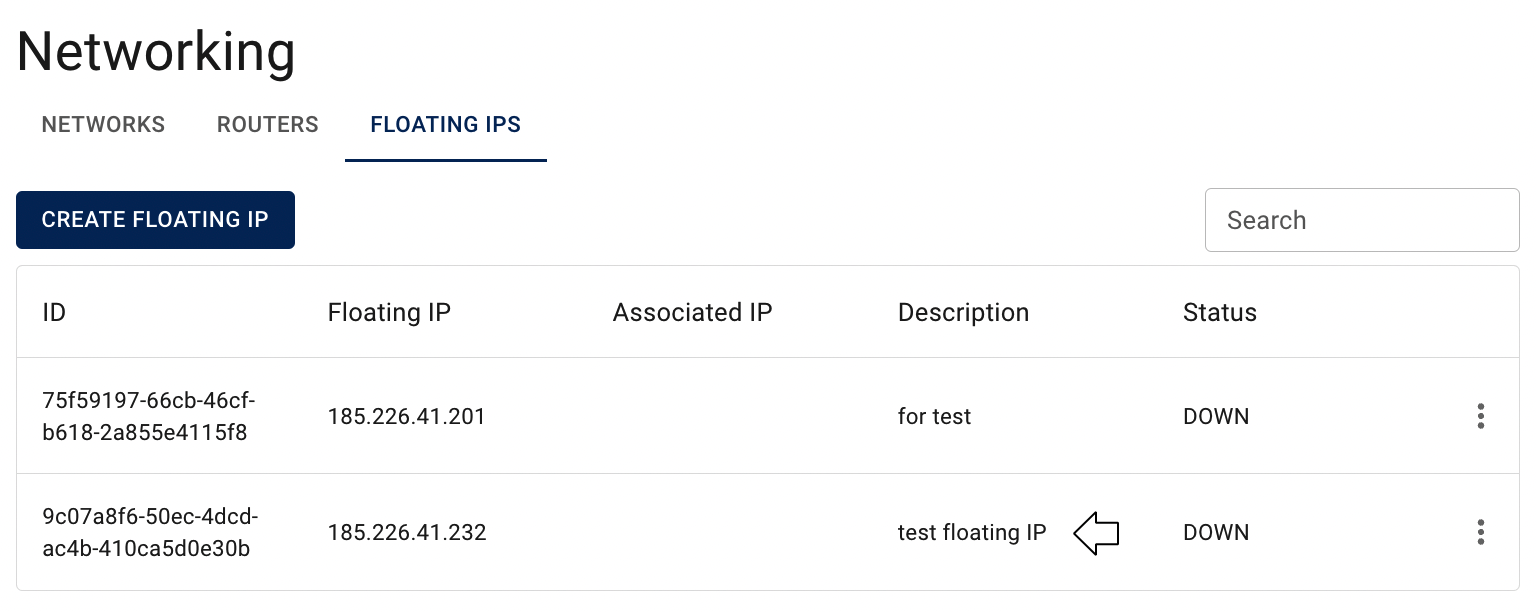
After these steps, the newly created Floating IP will be added to the Floating IPs page:
Also, when creating Floating IP, you can immediately associate it with available VM’s Interface or Load Balancer:

If Floating IP is currently associated with one of the created Interfaces or Load Balancer, it’s status is ACTIVE: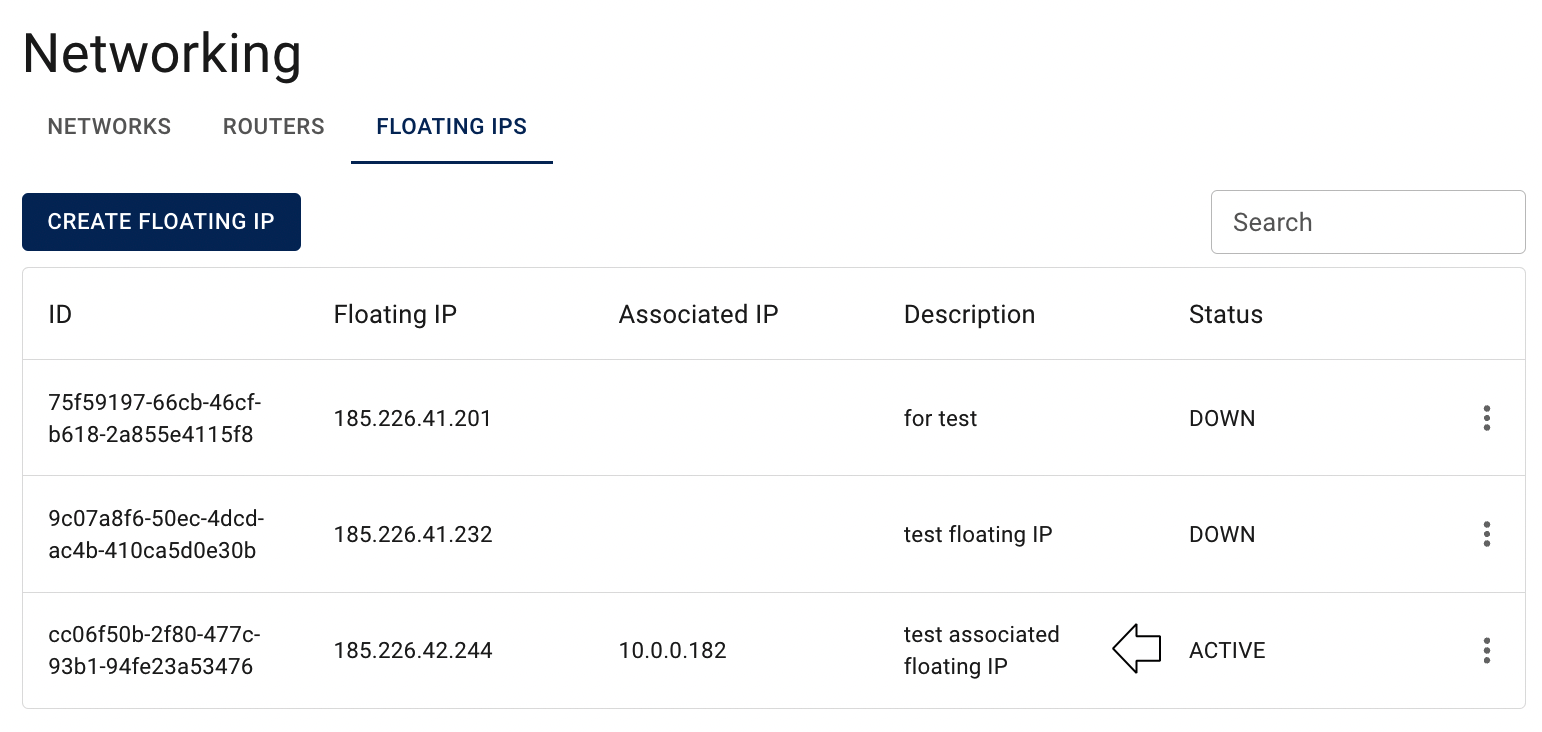
Associate/Disassociate Floating IP
📌 Floating IP association can be completed successfully to VM’s interface or with Load Balancer in internal subnet with enabled external gateway.
Associate Floating IP
To associate already created Floating IP with the VM’s internal Interface or with Load Balancer, do the following:
- ensure that you have created VM or Load Balancer in internal Network, which Interface you want to associate with the Floating IP.
To find information about:
💡 how to create internal Network - use the article Networks
💡 how to create Virtual Machine - use the article Virtual Machines;
💡 how to create Load Balancer - use the article Load Balancers; - ensure that you have configured Router with enabled external gateway, which is attached to your internal Network. 💡 how to create and configure Router - use the article Routers;
- identify the Floating IP, that you want to associate, on the Floating IPs page;
- click on the Actions icon and select the Associate in the list of available options;
- select the resource to attach this floating IP to (Virtual Machine or Load Balancer):
- select one of the available VM’s internal Interfaces or available Load Balancer on the next opened window, and click on ASSOCIATE:
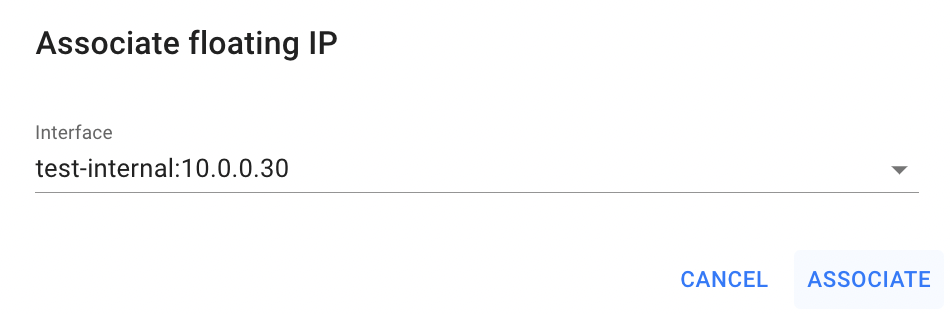
After these steps, the selected Floating IP will have ACTIVE status and the associated with it VM or LB will be publicly available.
Also, as you know from the previous chapter, you can immediately associate Floating IP during its creation.
Disassociate Floating IP
If you need to disassociate Floating IP and to make your VM or LB again publicly unavailable, do the following:
- identify the associated Floating IP, that you want to disassociate, on the Floating IPs page;
- click on the Actions icon and select the Disassociate in the list of available options:
After confirmation your action on the next opened window the selected resource (Vm or LB) will be again publicly unavailable and Floating IP has status DOWN.
Additional ways to associate/disassociate Floating IPs
It is possible to manage a Floating IP for a specific VM directly from the Virtual Machine details page.
💡 For more instructions and information see the article - VM’s Networks and Interfaces.
If ypu need to manage a Floating IP for a specific Load Balancer, go to the Load Balancers page.
💡 For more instructions and information see the article - Load Balancers.
Edit Floating IP
To edit the Floating IP, do the following:
- identify the Floating IP, that you want to edit, on the Floating IPs page;
- click on the Actions icon and select the Edit in the list of available options;
- update the Description on the next opened Edit Floating IP window, and click on the SAVE icon.
After these steps, the selected Floating IP will be updated.
Delete Floating IP
To delete the Floating IP, do the following:
- to identify this unnecessary Floating IP on the Floating IPs page;
- click on the Actions icon and select the Delete in the list of available options;
- confirm the Floating IP deletion on the next opened Confirmation window.
After these steps, the selected Floating IP will be deleted.